|
During this project I was able to learn more about the use of different shapes in different scenarios, for example emphasis with the color was cool to make trying to emphasize the colors that I was using, also it was different trying to make texture from squares in the balance part but I don't think I did great at it. Overall I learned a few new things and how to make different textures and shapes and had a good time doing this assignment. 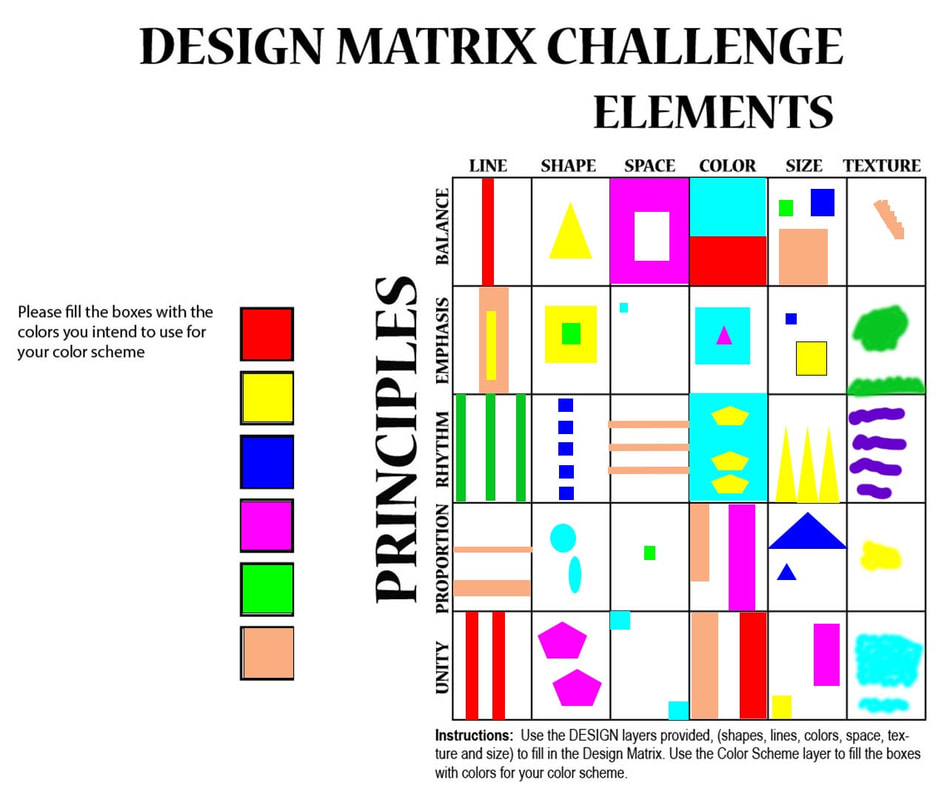
0 Comments
During the creation of my mystery image I thought it would an easy idea to do something from Minecraft since its already in blocks and would be easy to plot, during the process it was hard to keep track of where each coordinate was and it took lots of time recounting where all the points were since I kept forgetting. I had fun during the first stage where I was making the outline of Steve but shortly after that It became harder to plot the smaller details. I knew what I was making when I made the outline but I didn't fully know what the character was from but I thought It was Frieza from dragon ball z, I think if it was Frieza then it should have had more detail since it doesn't fully look like it but if its not it would make sense. 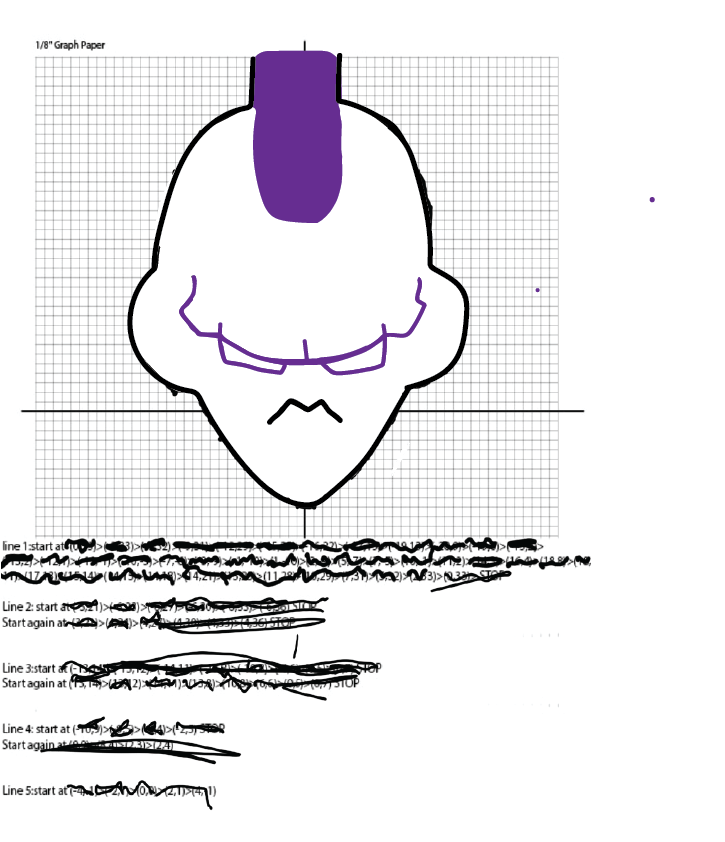 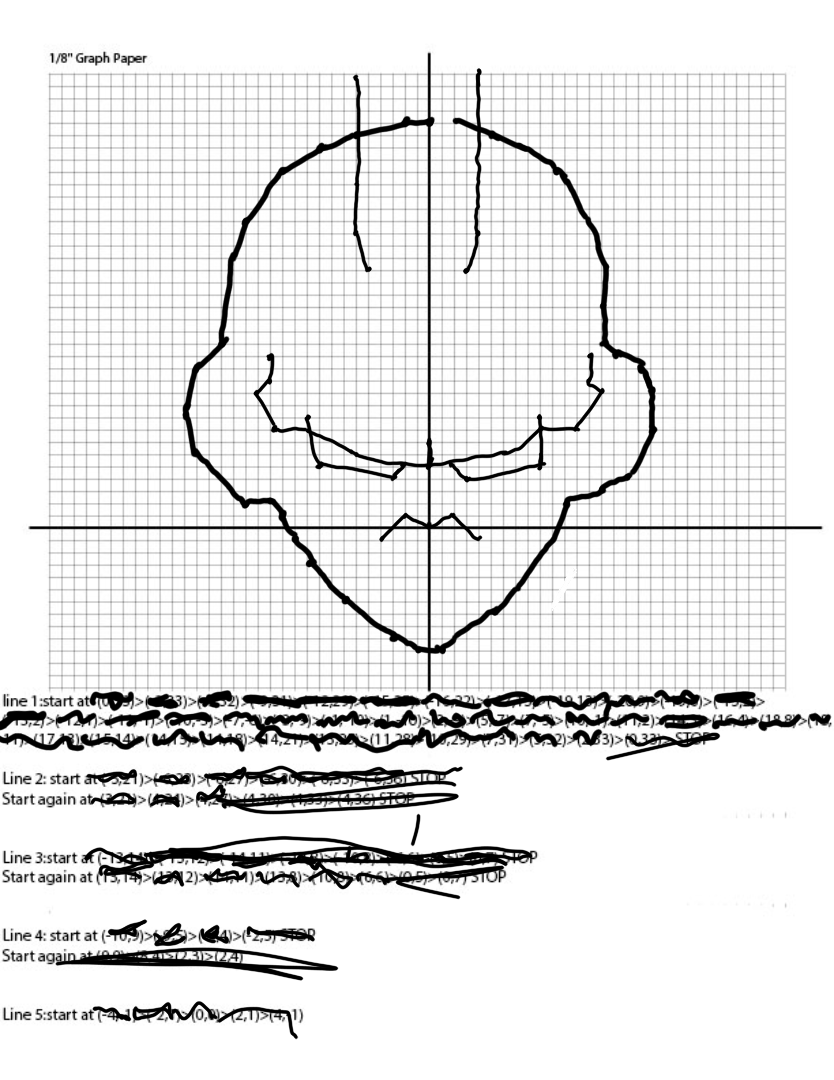
Pre-production:
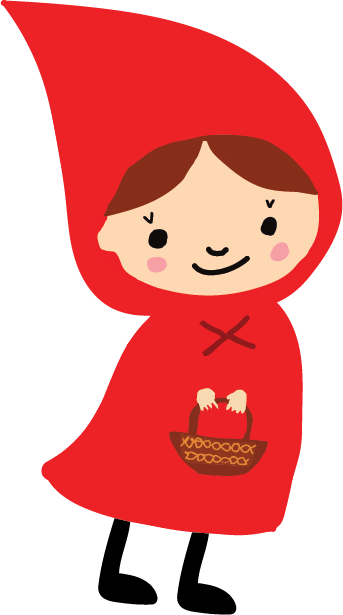
I chose Little red riding hood because I thought it was a a popular and well-known fairy tale that has been passed down through generations and It would be fun to edit it and make my own animations to it. I added changes to it like the full story, I mostly just included the main parts that were more important, I decided not to add the beginning conversation where it added just more dialogue. These were the original designs of both the wolf grandma version and little red riding hood, I decided to change the wig on the wolf and getting red of the basket on little red riding hood. 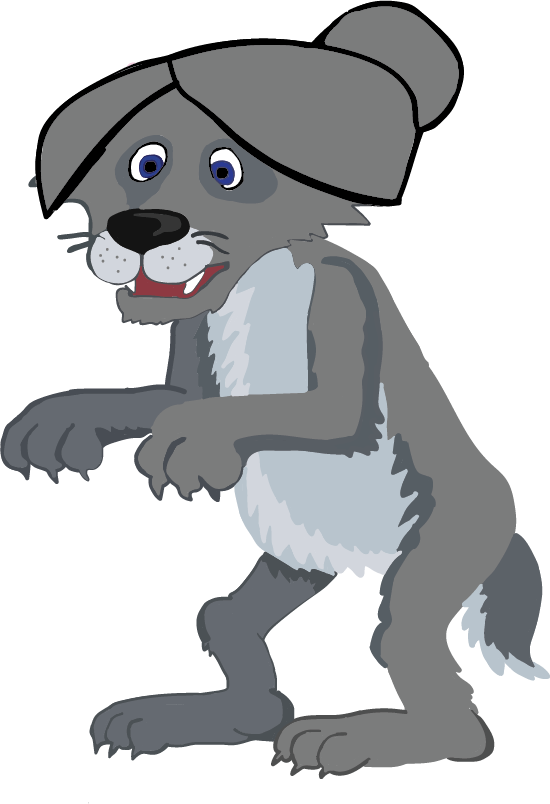
Production:
I used adobe animate for this, I thought it would be the easier way instead of stop motion which I find a lot harder, I chose adobe animate because I had known more about it and I was able to use it with more confidence even though there was some things I struggled with, such as moving the characters in at the right times and having the text change and move around different areas which took me a lot longer than it should have. I was confused on how to make the text switch and stop hooking onto the previous text but I later found out how to stop that. This photo shows what I was struggling with but I later copy and pasted each text then changed it. 
Post-production:
I really liked working with adobe animate on this project, it was difficult on some parts like the text movement but it was fun learning how to work it and learning more about parts of adobe animate. These are my completed parts for my animated scene, there is the wolf, the forest where the story will take place and there is the cabin at the beginning, I still need to finish my little red riding hood, the grandma and the grandmas house. 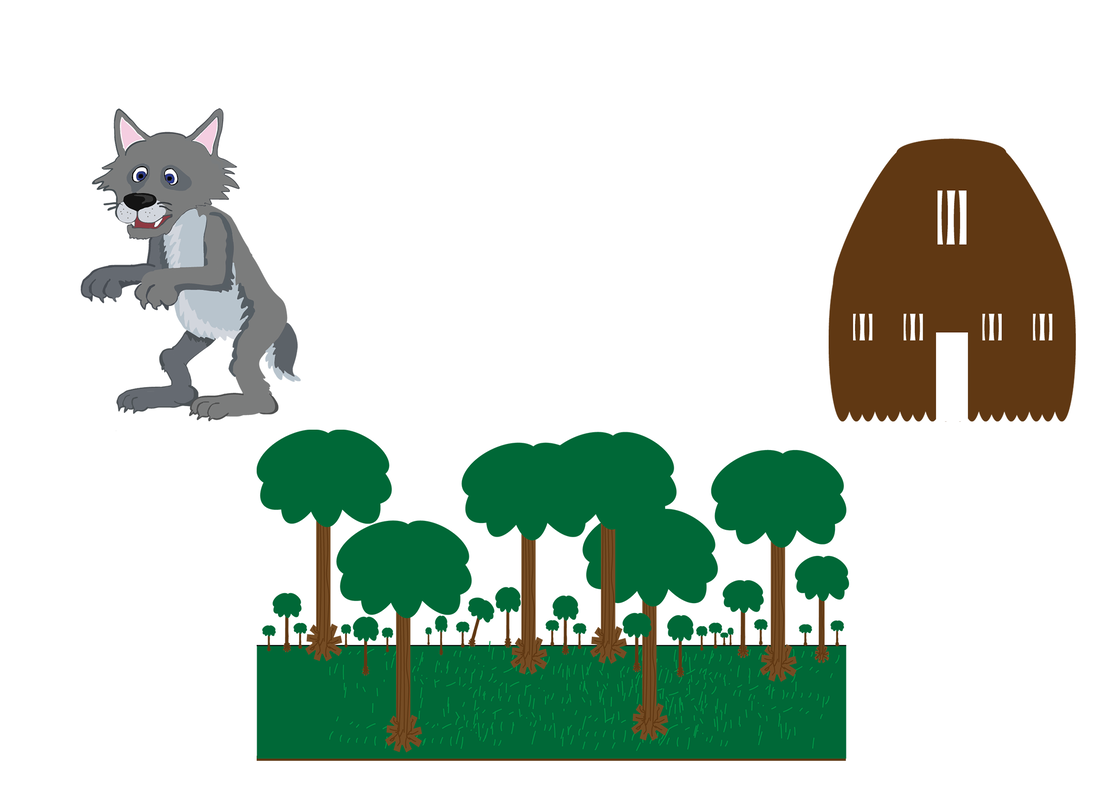 In this project in brain buffet I learned a few new things, I saw how to draw the text and do more edits with it, also how to just draw in the animation and turn it into more editable layers and make it animate around and move more, I struggled figuring out how to extend a texts length on the screen and also how to make it drop in from another area, these videos helped me know how to do that. Also when I was exporting my other GIF I didn't fully understand how to make it into a gif which is where I used the last video to transform the animation into a Gif. 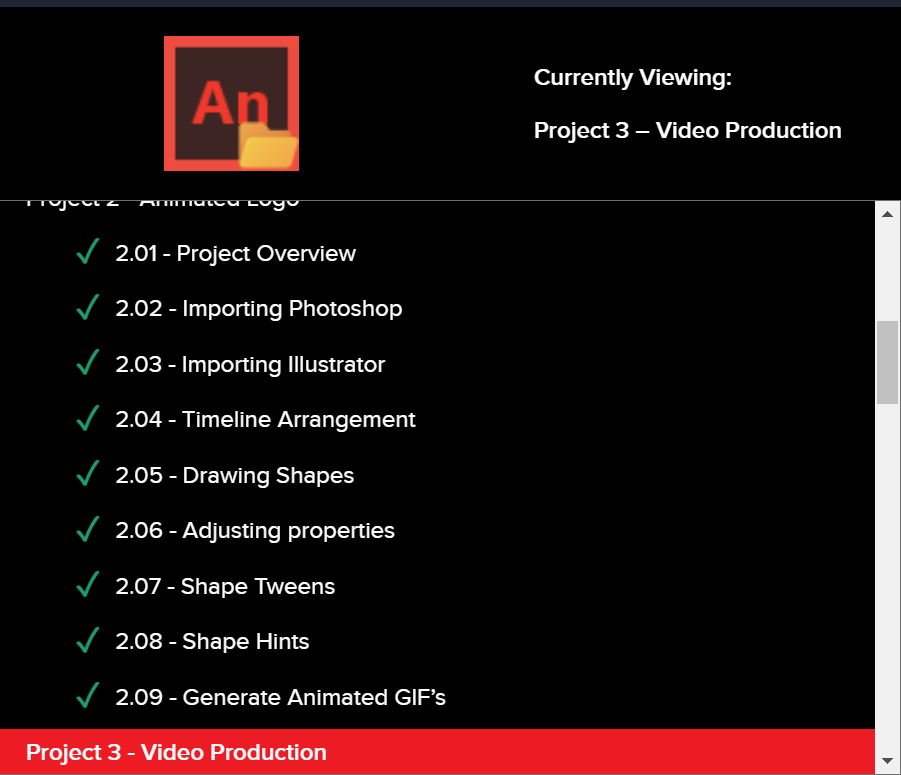 Using Adobe animate it took me some time to learn how to use more of the shape tweens, I was having trouble making the text be animated but after awhile I figured out that you had to make the animated tween straight from the layer, It was fun using the different animations and making the shapes transform into what I wanted the shape to be. Overall it was a fun time figuring everything out, the only problem I had was I was confused on what exactly I was supposed to start with at the beginning.   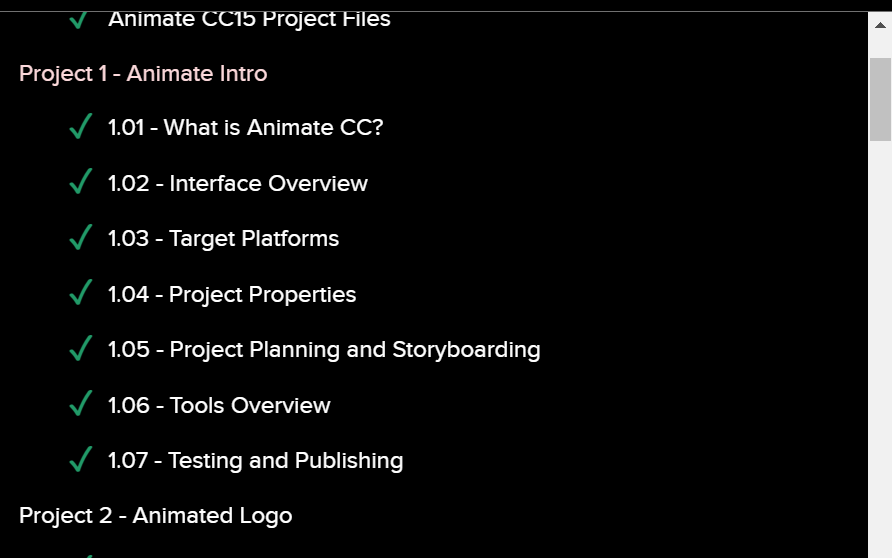
While making this animation I was very confused, I wasn't sure if there was a way to make the characters moving look more smoother so I wasn't very happy with the way it came out but I couldn't figure out how to correctly do it. I thought the way it auto animated the characters was nice since it looked a little smoother and it took less time.
I still liked using the animation area in photoshop and I think there's more things I could do with this.
So i chose to do the clips in the order I chose because I thought it looked more like a intro scene and then like showing all of the people in the race before the race actually started, then showing the people getting up to the start line and then the race goes.
I used the tools like the L cut to keep the sound going on a clip and also the razor tool so I was able to cut the clips right where I wanted them, I also found out how to use the rolling credits at the end which was very helpful to make the ending look better.
So for my clips I chose what I thought was the best high quality clips that could work well for the story I was going for, I chose the audios that were the best for what was going on in the game, the music I couldn't find the best stuff so I chose what would work, I used the razor tool so I could split the audios such as the players skating, at different times throughout the clips, I also used the audio gain tool so I was able to turn down the music volume since originally it was a lot louder.
The tutorials helped me know what everything did such as the razor tool which I used a lot during this project, also the text boxes which made it so I was able to know where to put my text. |
